

Oracle’s VirtualBox virtualization instrument is a well-liked selection for customers who wish to check new running machine variations. If you happen to set up Home windows in VirtualBox, it’s possible you’ll realize that you’ll be able to’t exchange the default display answer of 1024×768.
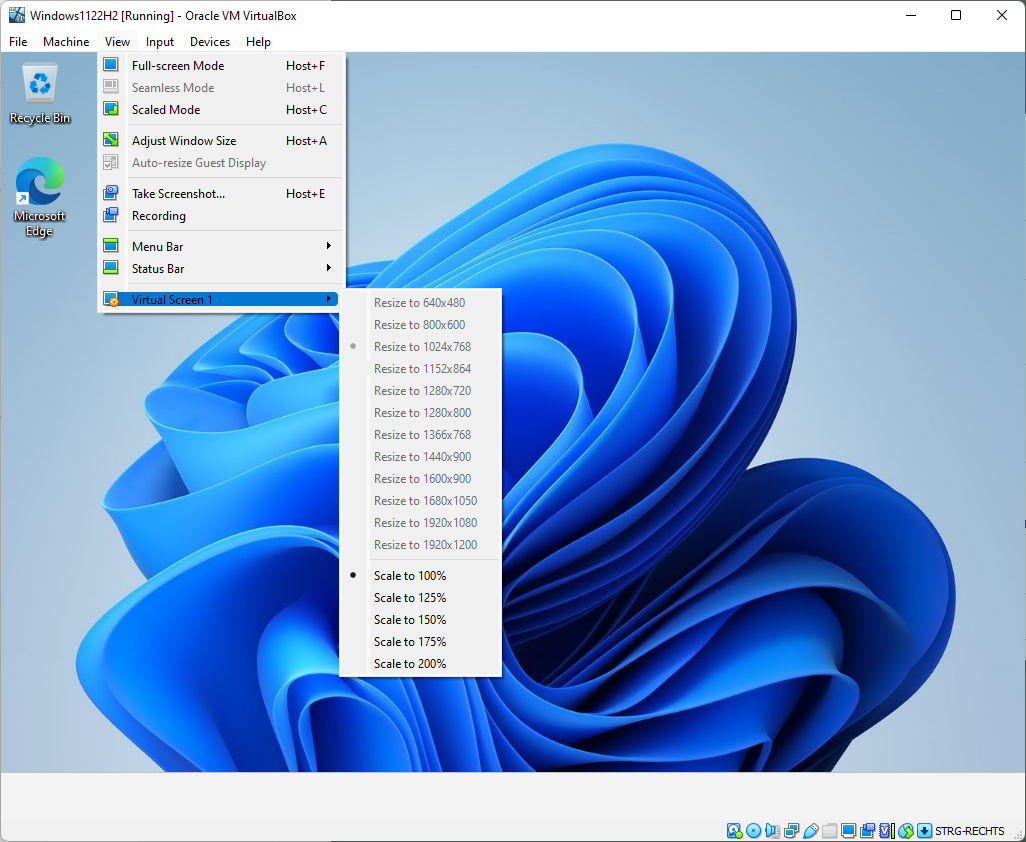
The low answer could also be enough for some duties, however many might take pleasure in greater resolutions. The View > Digital Display menu of the VirtualBox utility lists all to be had resolutions and scaling choices.
The “resize to” choices are all inactive, as they’re grayed out and now not selectable. The scaling choices are unlocked and to be had, even though.
Fortunately, it’s reasonably simple to free up all supported display resolutions in VirtualBox. The next directions provide an explanation for intimately how this is carried out.
Solving the Display Measurement of Home windows in VirtualBox
The repair calls for the set up of Visitor Additions; this will likely sound intimidating in the beginning, however this can be a simple procedure that completes in an issue of mins on maximum techniques. The outline might sound as in the event you’d want to insert a CD symbol, however this isn’t the case.
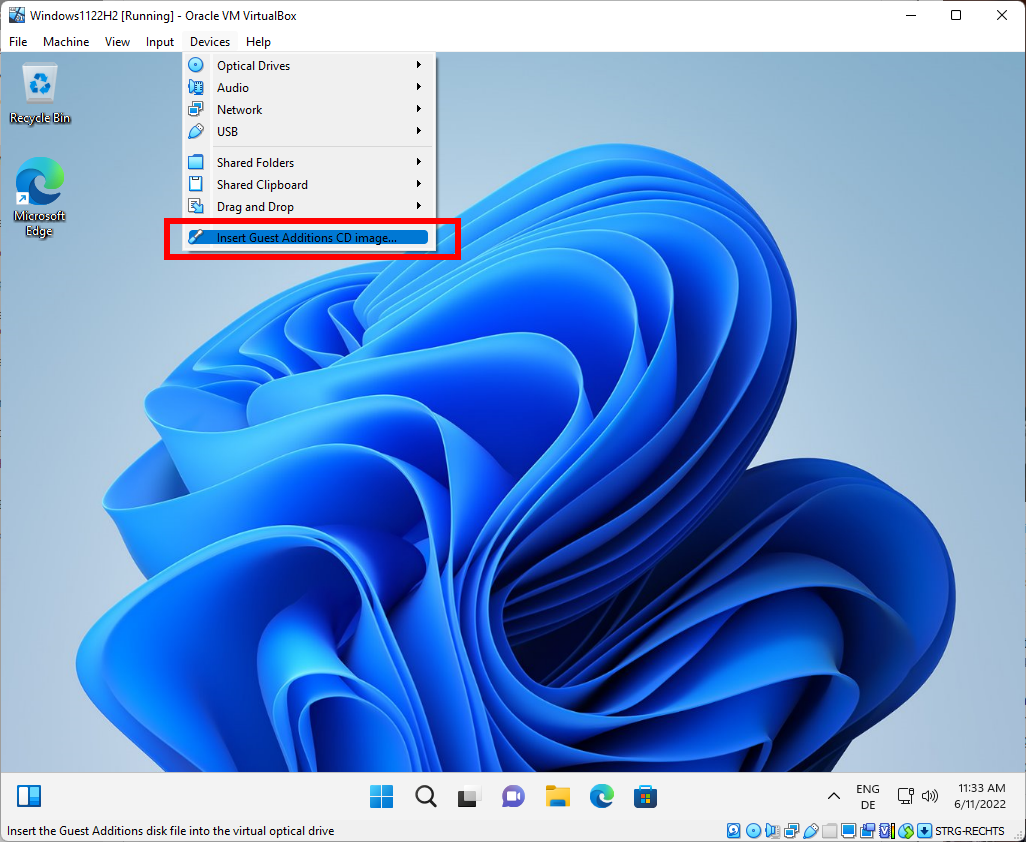
To get began, choose Gadgets > Insert Visitor Additions CD symbol. All that it does is mount the Visitor Additions CD in VirtualBox, so that you would be able to get right of entry to its contents. You’ll pay attention a valid that signifies that the CD has been fastened.
Subsequent, open Report Explorer at the machine and open the the CD pressure “Digital Visitor Additions”.
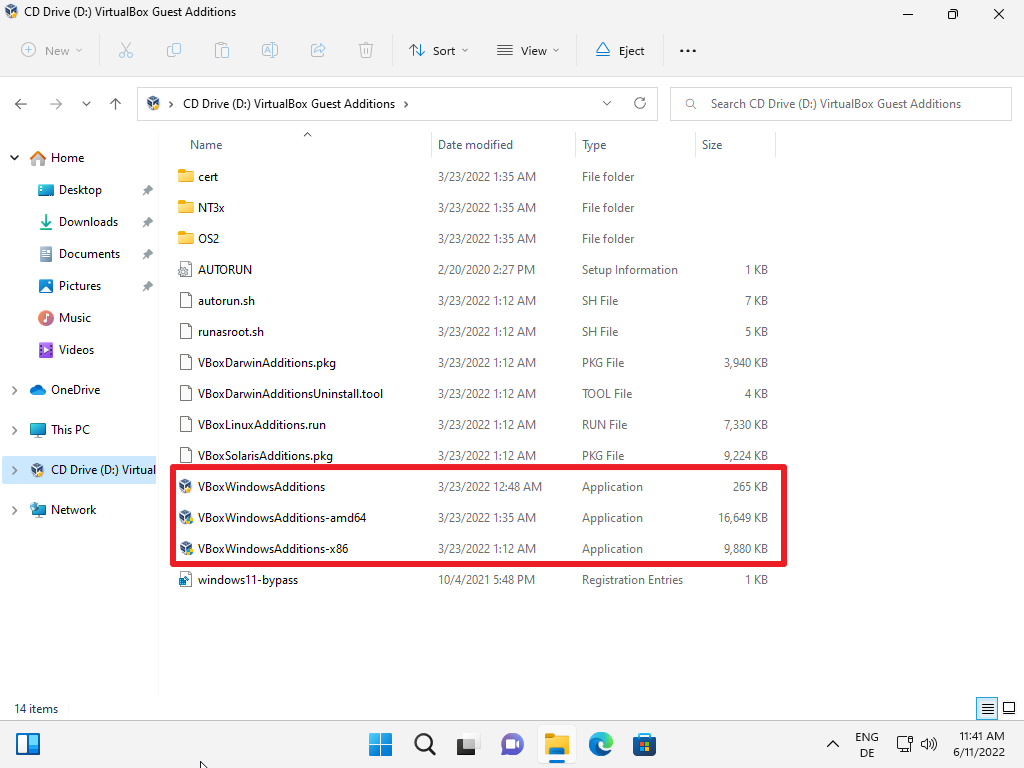
The basis menu lists 3 visitor additions for Home windows. There also are additions for different running techniques, together with Linux and Solaris.
The 3 Home windows visitor additions are for various architectures.
- VBoxWindowsAdditions is for 64-bit techniques. Select this one in the event you don’t seem to be positive.
- VboxWindowsAdditions-amd64 is for AMD techniques.
- VboxWindowsAdditions-x86 is for 32-bit techniques.
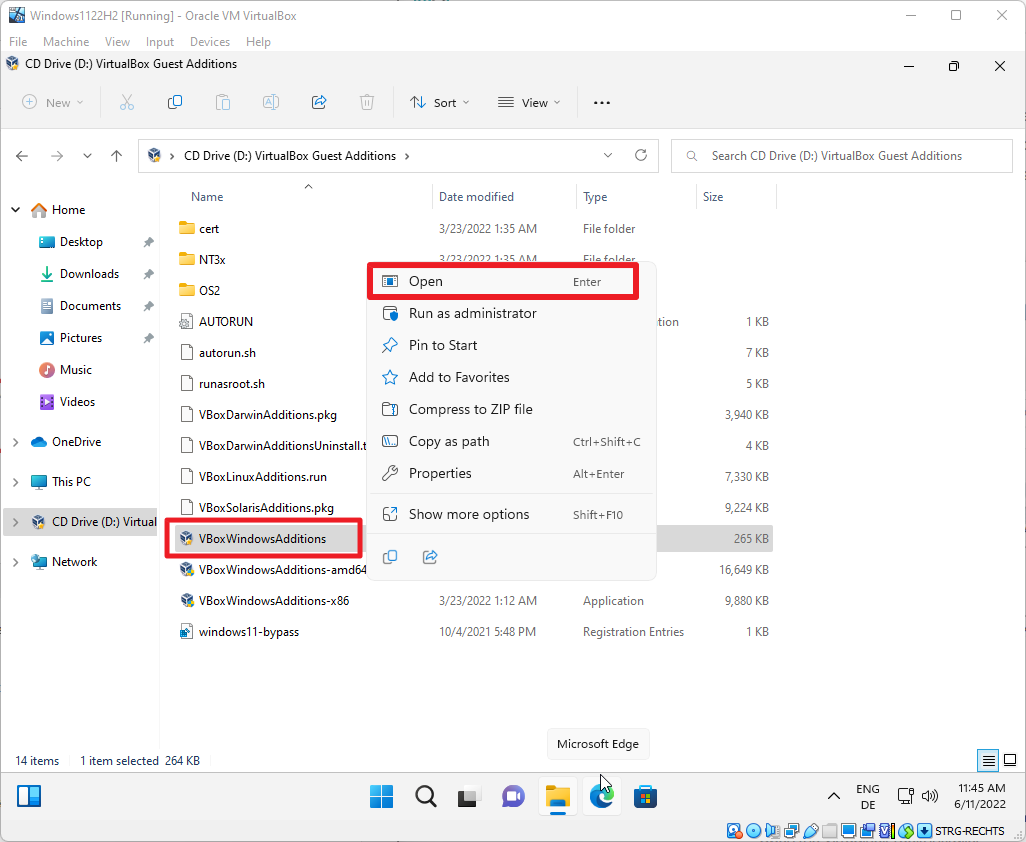
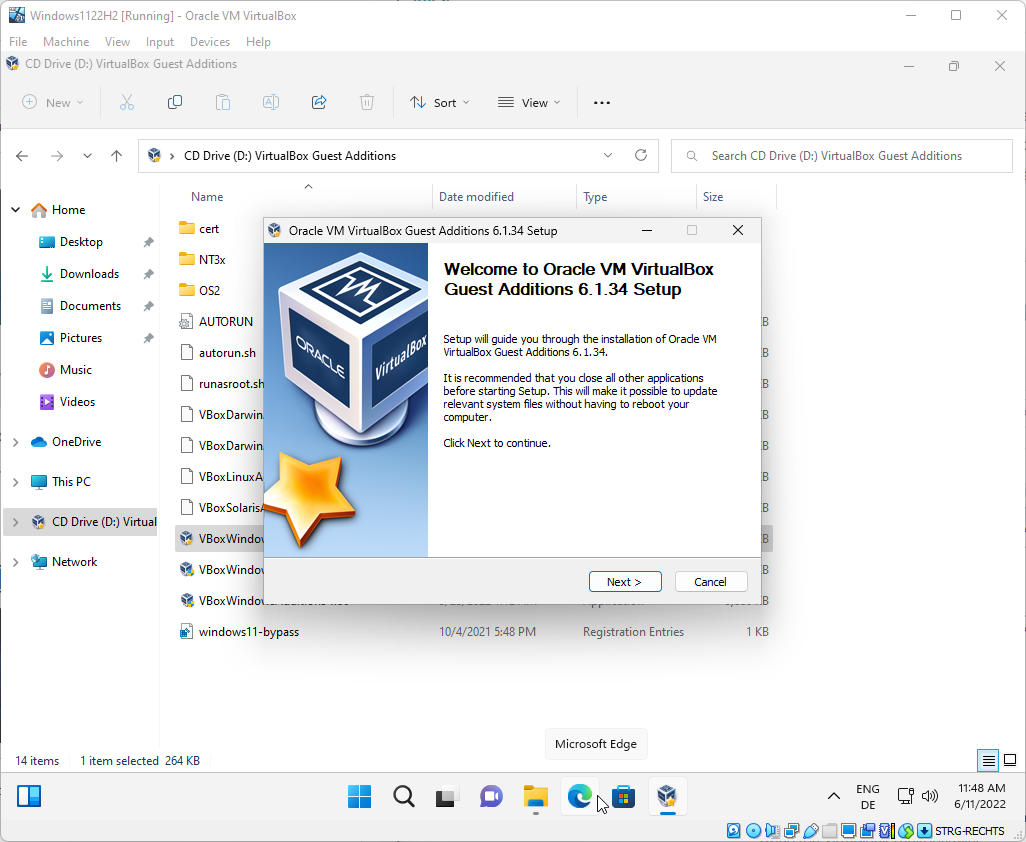
Proper-click on some of the information and choose open from the context menu to start out the set up within the digital device. Chances are you’ll double-click at the report to start out the set up.
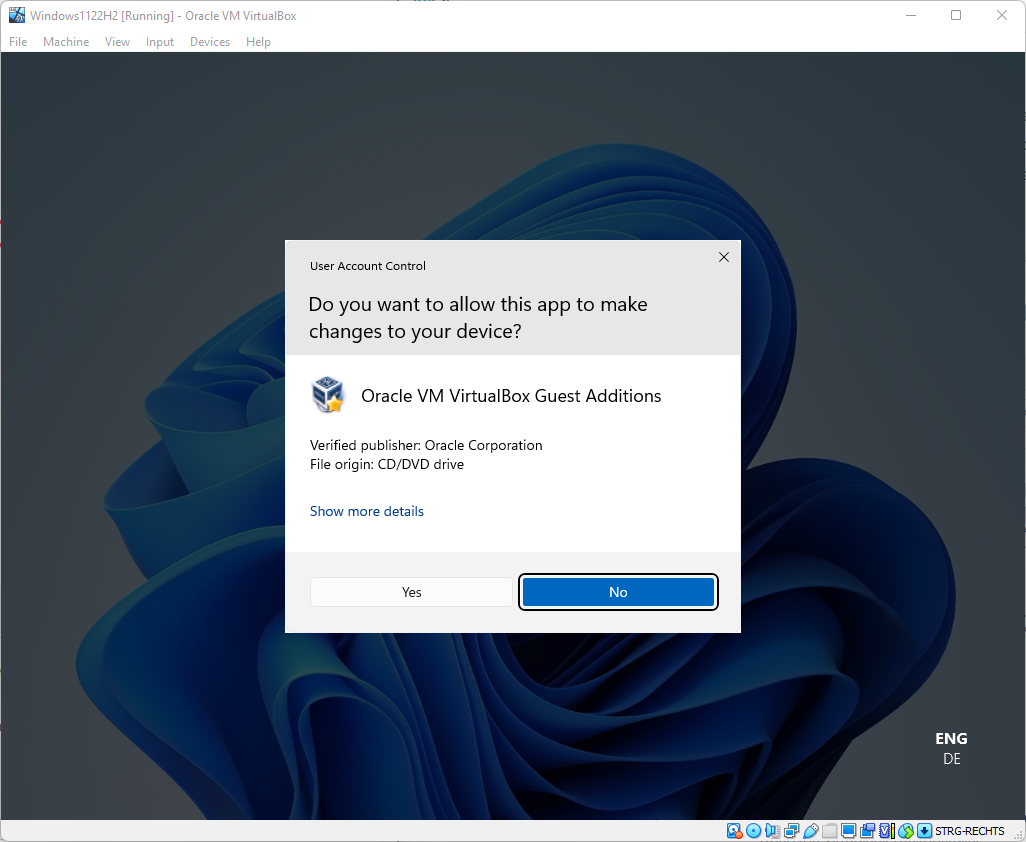
Home windows presentations a Consumer Account Keep an eye on urged, which you want to permit through settling on Sure.
The installer launches upon getting decided on Sure. Choose subsequent at the first web page this is displayed.
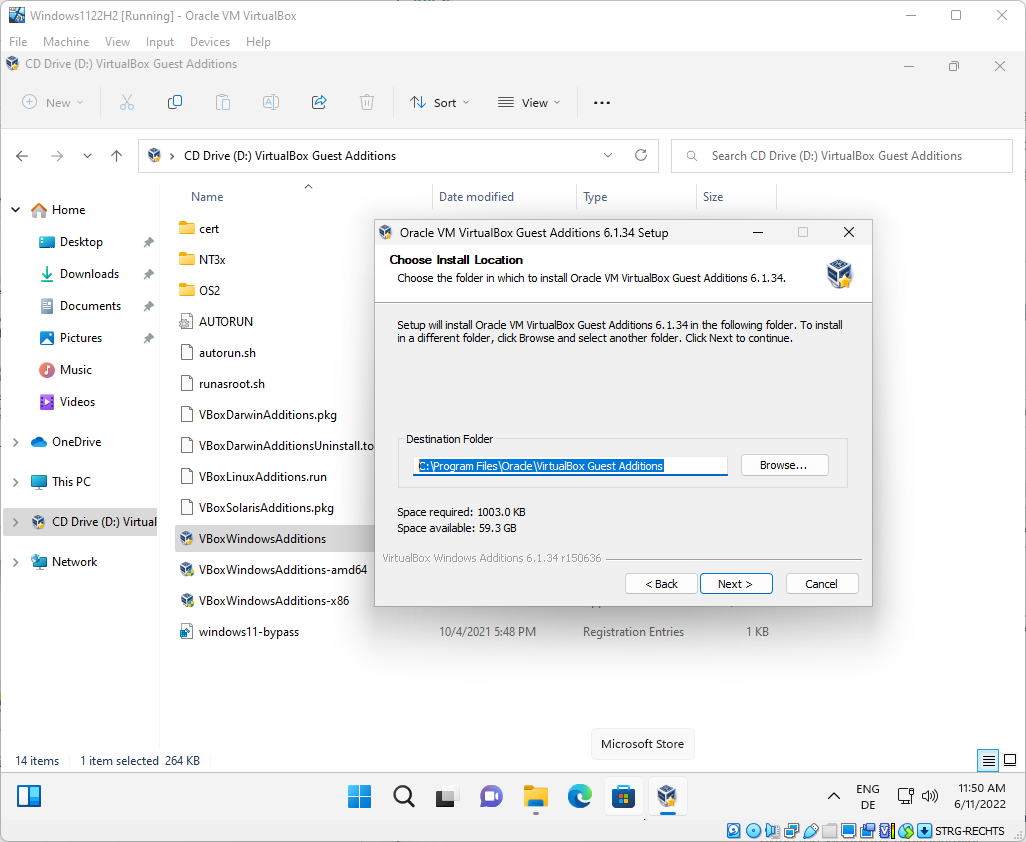
The web page that follows presentations the vacation spot folder for the information that shall be put in. Chances are you’ll exchange it, however maximum customers might wish to stay the default trail. Choose Subsequent to continue.
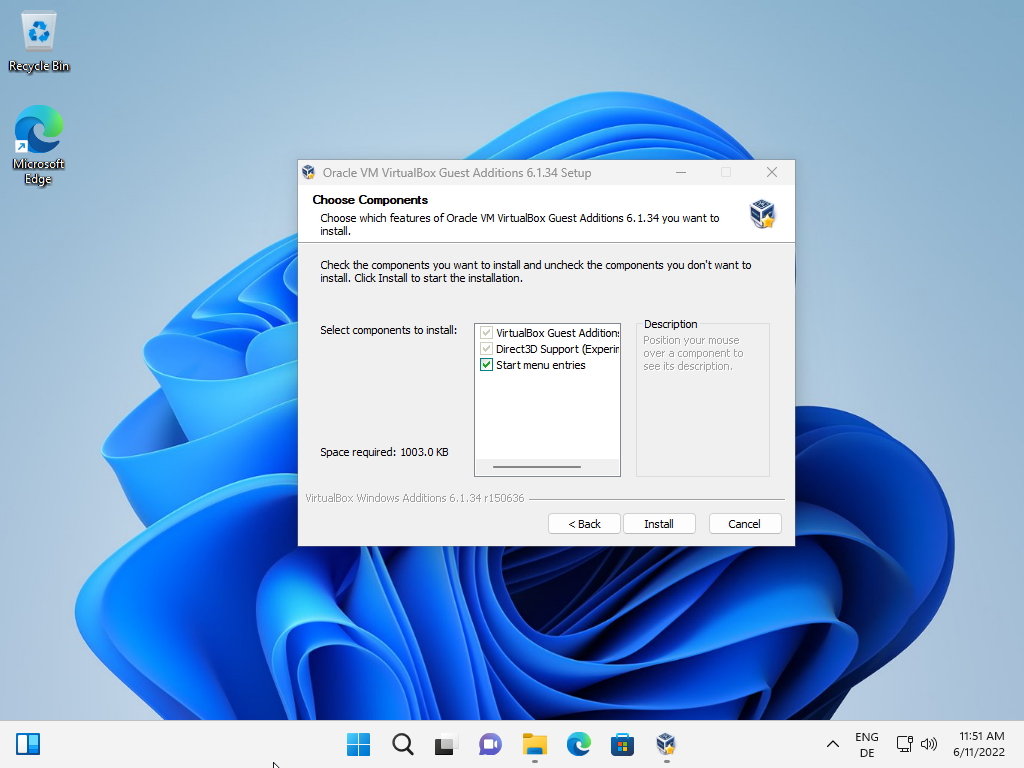
The general display presentations the elements that shall be put in. Chances are you’ll disable the advent of a get started menu access, however the two ultimate elements shall be put in. Choose the set up button to continue.
The installer presentations its movements if you hit the set up button.
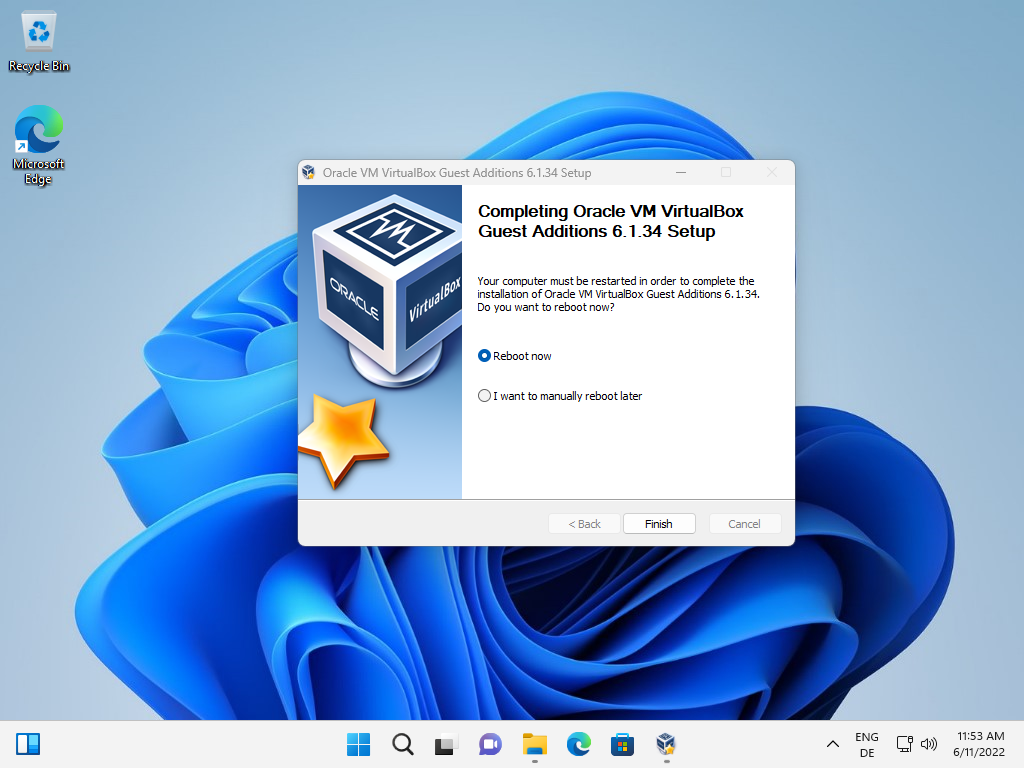
It is vital to reboot the digital device to finalize the set up. Chances are you’ll accomplish that instantly through settling on “reboot now”, or at a later cut-off date. Choose end to go out the installer.
All display resolutions are unlocked after the restart. Choose View > Digital Display X to choose a special answer. Please observe that it is going to take a couple of seconds ahead of the resolutions turn out to be to be had.
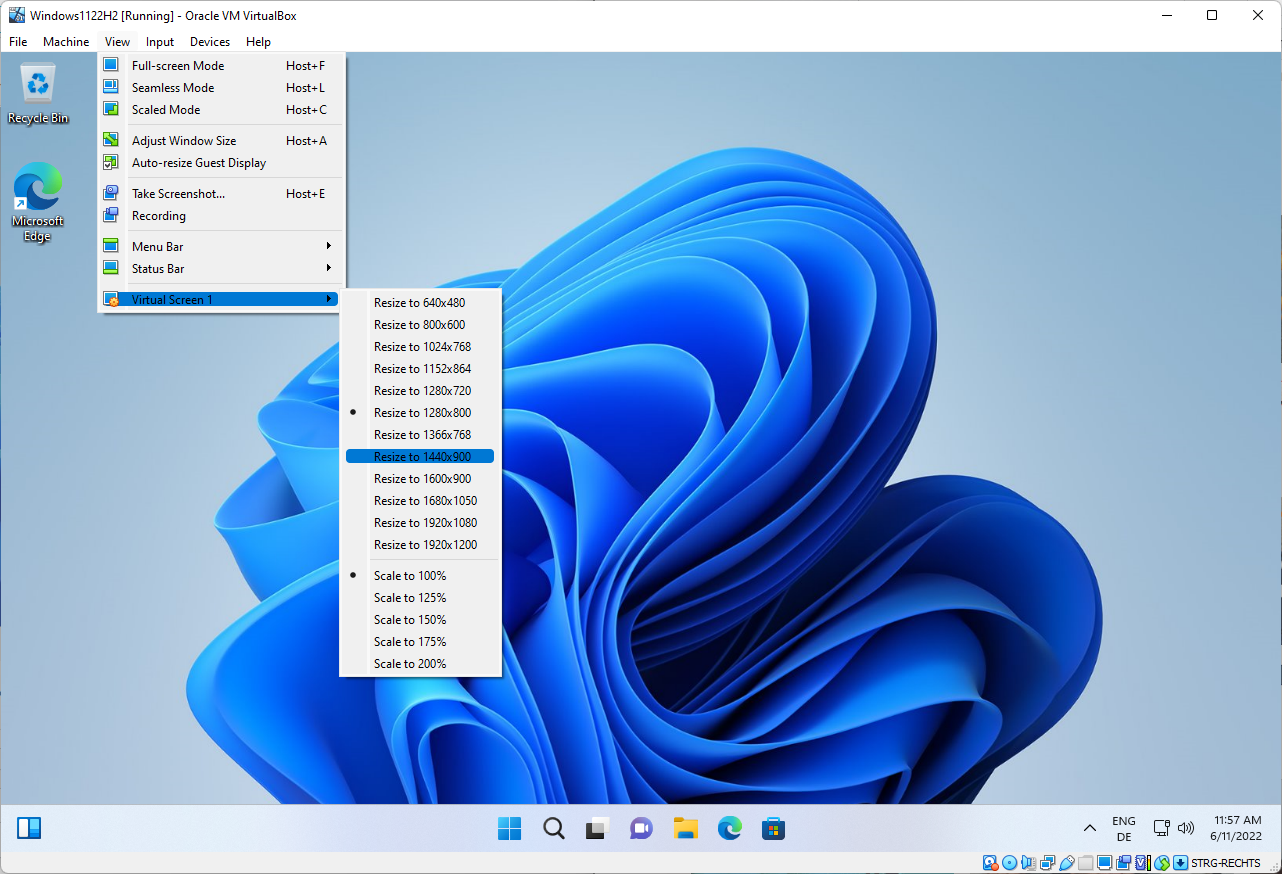
The bodily show limits the to be had answer; you’ll be able to’t transcend the utmost answer this is supported through the show.
Abstract
Article Identify
Easy methods to exchange the Home windows display measurement in VirtualBox?
Description
Learn how to switch the display answer of a Home windows digital device in Oracle’s VirtualBox instrument.
Writer
Martin Brinkmann
Writer
Ghacks Generation Information
Emblem

Commercial