
In nowadays’s generation of multi-terabyte exhausting drives and on-line garage, many people don’t stay as shut a watch on our disk utilization as we used to. Nonetheless, even the most important drives replenish ultimately.
In the event you don’t know the way to test your disk house use in your Mac, right here’s the place to seem.
Choices 1 and a couple of: From the Finder
The Finder offers you a few techniques to peer how a lot loose disk house you could have. Those are the perfect techniques.
Preview your garage instrument. In macOS, if you choose an merchandise within the Finder and press the spacebar in your keyboard, you get a preview of the article. As an example, if you choose a textual content report after which press the spacebar, you’ll be able to see what’s within the report with out in reality opening it.

You’ll be able to use preview to test your garage instrument’s capability. Right here’s how.
1. Choose the garage instrument at the Desktop. (To make your garage instrument seem in your Desktop, pass to the Finder and make a selection Finder > Personal tastes, click on on Normal, and adjust the atmosphere for Display this stuff at the Desktop.) Or open a Finder window, glance within the left column, underneath the Units heading, and make a selection the garage instrument.
2. Press the spacebar. You must see a window open that presentations the capability of your garage instrument and the to be had house.
3. To near the window, press spacebar once more or press Command-W, or click on at the close-window icon (the circle X) within the higher left.
Finder window standing bar. If you need to have an outline of your loose disk house all the time from the Finder, you’ll be able to flip at the Finder’s standing bar.
1. Open a Finder window in case you don’t have one open already (click on the Finder’s Dock icon or pass to Report > New Finder Window).
2. Open the View menu and make a selection Display standing bar. This will likely display you what number of pieces are within the present folder, and in case you’re viewing a folder in your exhausting pressure (comparable to your Programs or Paperwork folder), you’ll additionally get a readout of your exhausting pressure’s loose house.

Need an always-visible assessment of your disk utilization? Cross to the View menu and make a selection Display Standing Bar.
Choices 3: Get Data
The Get Data field is a straightforward technique to test your disk’s capability and used house.
1. To find your exhausting pressure within the Finder and make a selection it. If it seems that within the Finder window sidebar or at the Desktop (it doesn’t through default—pass to Finder > Personal tastes to switch that), click on your exhausting pressure’s icon in both of the ones spots. In case your exhausting pressure icon doesn’t seem there, pass to Cross > Laptop, then click on the exhausting pressure icon underneath Units.
2. Click on the Report menu, and make a selection Get Data, or press Comand-I in your keyboard.
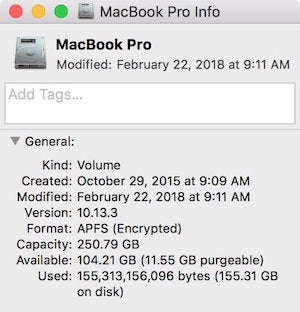
The Data window presentations the capability, to be had house, and used house, in addition to different knowledge.
Choice 4: About This Mac
In fresh variations of macOS (Yosemite or later), you’ll be able to simply test your disk utilization from the About field.
1. Open the Apple menu, then make a selection About This Mac.
2. Click on the Garage tab within the toolbar to peer how a lot disk house you could have to be had. (On OS X Mountain Lion or Mavericks, click on the Extra information button, then click on Garage.)
You additionally get a simplified assessment of what kind of recordsdata are consuming up your cupboard space.
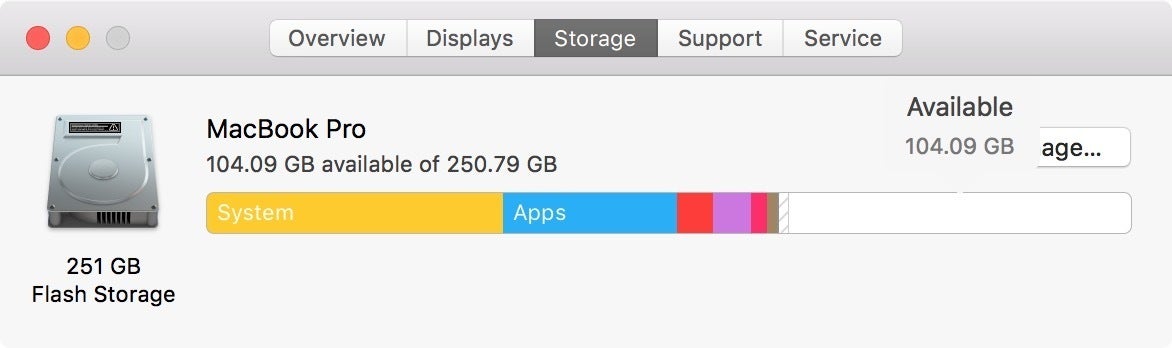
The Mac’s About field is one of the best ways to peer your exhausting pressure’s loose house. (macOS Top Sierra proven above.)
Choice 5: From Disk Application
You’ll be able to additionally view your loose disk house out of your Mac’s Disk Application app. Open Highlight through clicking the magnifying glass within the upper-right nook of the display, then kind Disk Application within the seek field that looks. As soon as Disk Application comes up within the checklist and is highlighted, press the Input key. Disk Application could also be present in Programs > Utilities.
As soon as Disk Application opens, make a selection your exhausting pressure’s title from the checklist. You’ll be able to see your pressure’s capability, its to be had house, its used house, and different information. You’ll be able to additionally test the loose house for any pressure you could have attached in your Mac from this window, be it a USB flash pressure or exterior exhausting pressure.
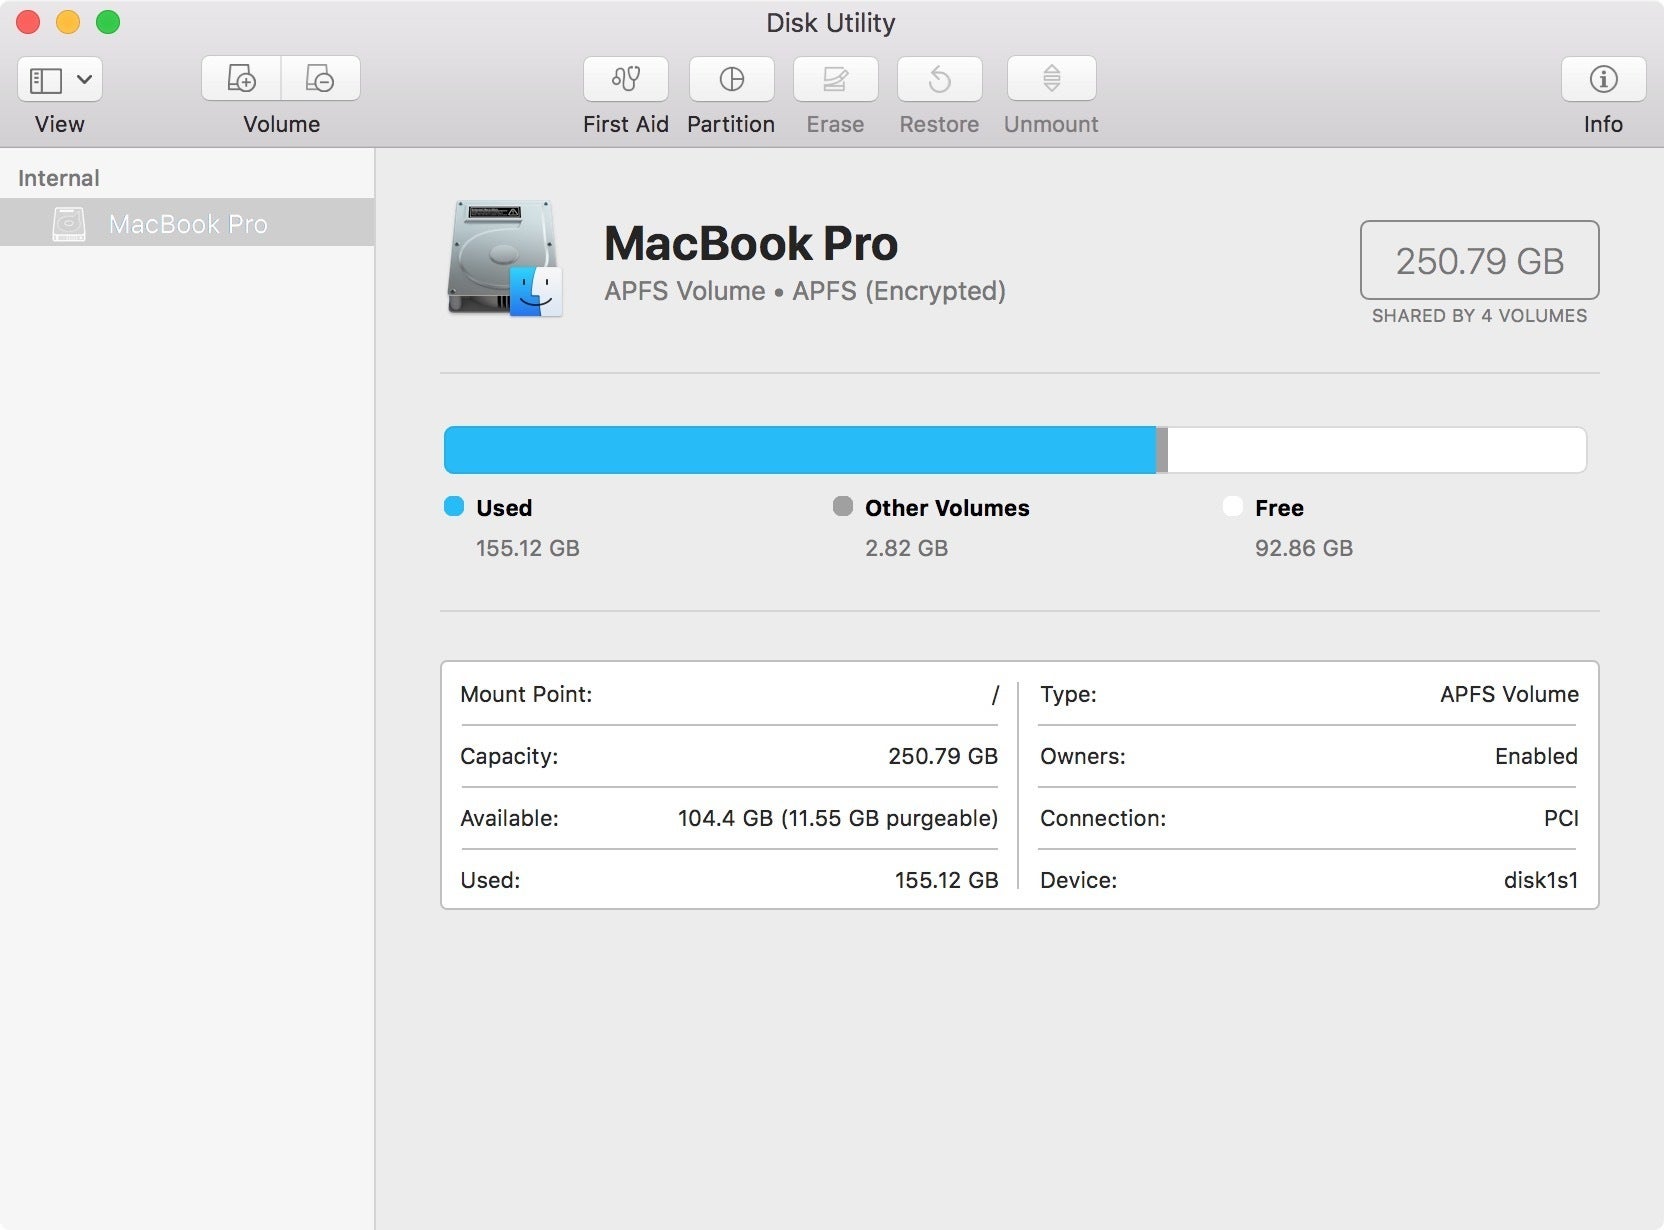
Disk Application supplies elementary details about your exhausting pressure and different disks. It additionally means that you can restore or reformat your disks.