

For those who’re searching for a loose method to sync recordsdata throughout your whole units—and don’t thoughts striking somewhat paintings into it—SyncThing could be your resolution.
In comparison to cloud garage products and services reminiscent of OneDrive and Dropbox, SyncThing isn’t the perfect to arrange. Its interface is unintuitive, or even understanding what to put in can result in confusion.
But if the whole lot clicks, it’s unbelievable. As it’s now not depending on far off servers, SyncThing can switch recordsdata sooner than cloud-based products and services. It’s additionally extra versatile, with an array of granular controls over what will get synced the place. Even cloud garage customers would possibly in finding application in SyncThing as a supplemental software once you have previous its setup hurdles.
Let’s dig into how you’ll do this. And did I point out SyncThing is loose?
What’s SyncThing?
SyncThing is a peer-to-peer report sync provider, which means that your units shape an immediate connection as an alternative of storing recordsdata on any person else’s servers. If all the ones units are at the similar community, your recordsdata by no means depart that community (regardless that SyncThing can paintings remotely as neatly). Maximum cloud garage suppliers don’t be offering this type of native connection, Dropbox being a notable exception.
SyncThing additionally gives in depth controls over syncing. As a substitute of being restricted to a unmarried folder, you’ll pair any folder on one instrument with any folder on every other, each on inside and exterior laborious drives. You’ll be able to additionally set folders as “Ship Simplest” or “Obtain Simplest” in order that deleting recordsdata on one instrument doesn’t impact the opposite. The instrument even means that you can customise model histories for every instrument and set regulations for the way incessantly to run the sync operation.
This ends up in a large number of neat probabilities, that could be tough or inconceivable to arrange with cloud garage. As an example:
- Temporarily syncing huge recordsdata, such video or audio recordsdata, both straight away or on a collection time table.
- Syncing recordsdata that may’t be moved into your cloud garage folder, reminiscent of sport saves within the Home windows person listing.
- Syncing recordsdata to a tool that you just’d reasonably now not hook up with cloud garage for safety causes, such as a Steam Deck.
- The usage of one-way sync to push recordsdata from an inside power on one instrument to an exterior power on every other.
- Sharing recordsdata with a pal or colleague with out affecting every different’s cloud garage limits.
set up SyncThing
Set up is in most cases the simple phase in terms of laptop instrument, however SyncThing’s somewhat extra sophisticated.
Whilst SyncThing gives a basic app for Home windows, Mac, and Linux, it does now not load at startup by way of default or come with a machine tray application for simple get admission to. The ones are beautiful vital options, so that you’ll most probably desire a third-party app to care for them:
- For Home windows, imagine SyncTrazor. It is going to robotically set up SyncThing and run at startup, plus it features a machine tray icon and sync notifications.
- For MacOS, SyncThing-MacOS is a wonderful consumer for having access to SyncThing from the menu bar. It contains its personal SyncThing set up as neatly.
- Linux customers can seize SyncThing-GTK. It’s to be had thru Flathub, making set up simple on units just like the Steam Deck.
- Android customers can set up SyncThing from the Google Play Store.
- For the iPhone, your best option is Möbius Sync, which is loose to check out however prices $5 after shifting 20 MB of knowledge. It additionally has one primary limitation: You’ll be able to’t use it to switch footage from the iPhone’s Digital camera Roll.
To get began with SyncThing, you’ll wish to set up it on two units. Any aggregate of platforms will paintings, so you’ll sync throughout Home windows, Mac, Linux, and so forth.
Additionally, prior to you cross any longer: Make a brief replica of the knowledge you intend to sync between units, storing it outdoor the folders the place you’ll do the syncing. That approach you’ll have a backup if anything else is going unsuitable all through the setup.
SyncThing setup: Attach your units
Jared Newman / Foundry
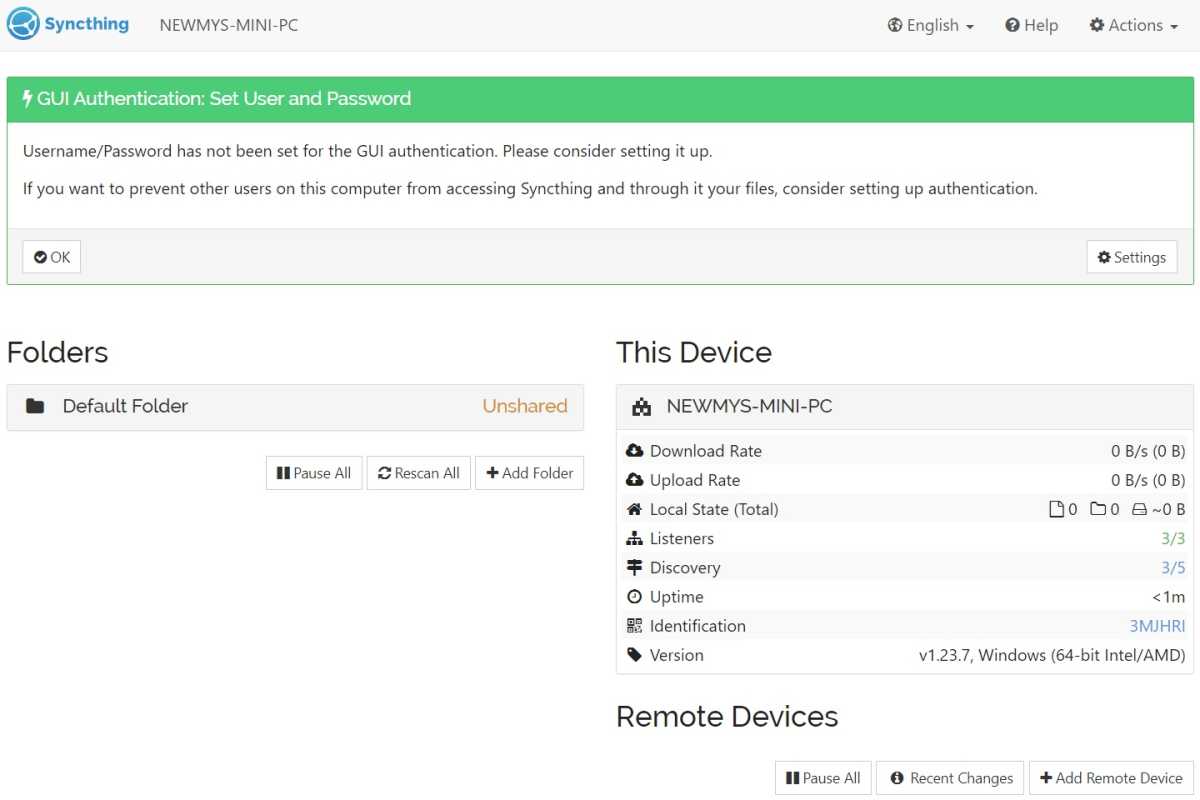
SyncThing doesn’t be offering any roughly setup wizard, so if you’ve put in this system, you’ll be taking a look at a bare-bones dashboard with details about your instrument, plus a advised to arrange a GUI username and password. (The latter is best vital for those who’re sharing a tool with any person you don’t believe and don’t need them messing along with your SyncThing settings.)
Get started by way of pairing the 2 units the place you put in SyncThing:
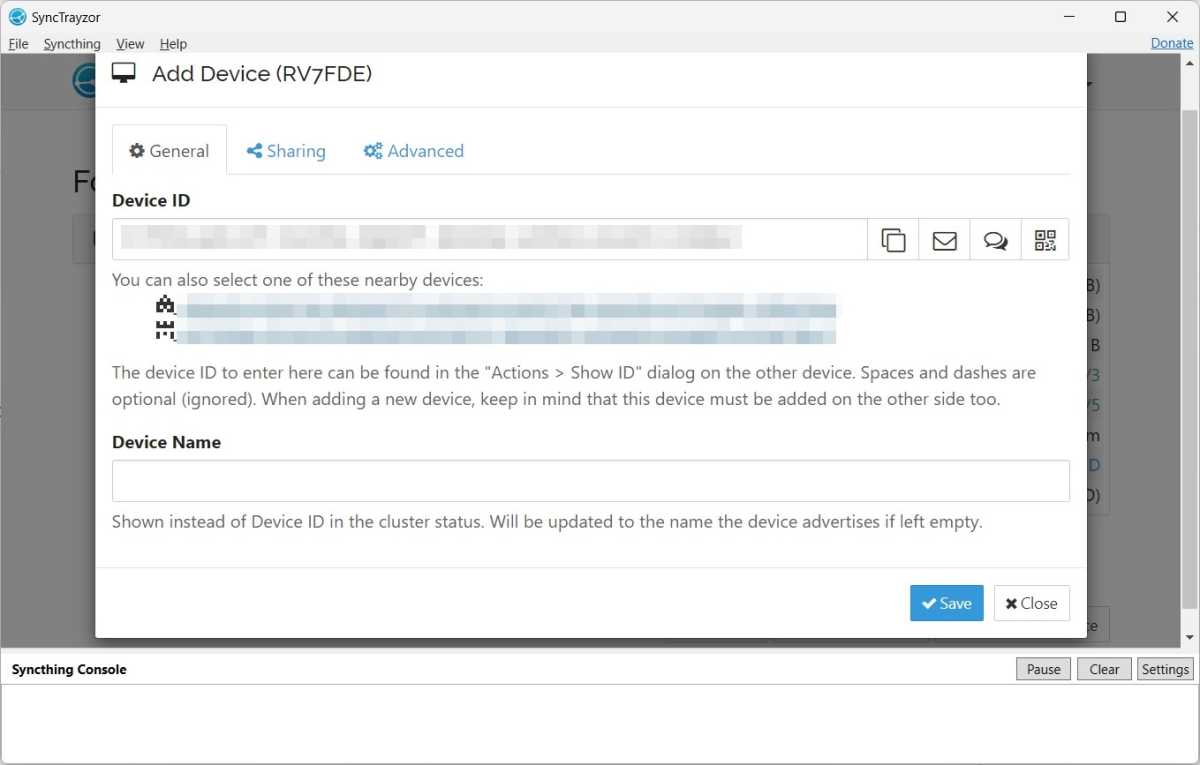
- At the first instrument, click on “Upload Faraway Software.”
- If each machines are at the similar Wi-Fi community: Make a selection your different instrument from the instrument listing. It is going to have a singular code and image related to it.
Jared Newman / Foundry
- For pairing over the web: Click on the code underneath “Id” for your different instrument. You’ll wish to replica distinctive ID from right here and paste it into the “Software ID” box for your first instrument.
- Click on “Save.”
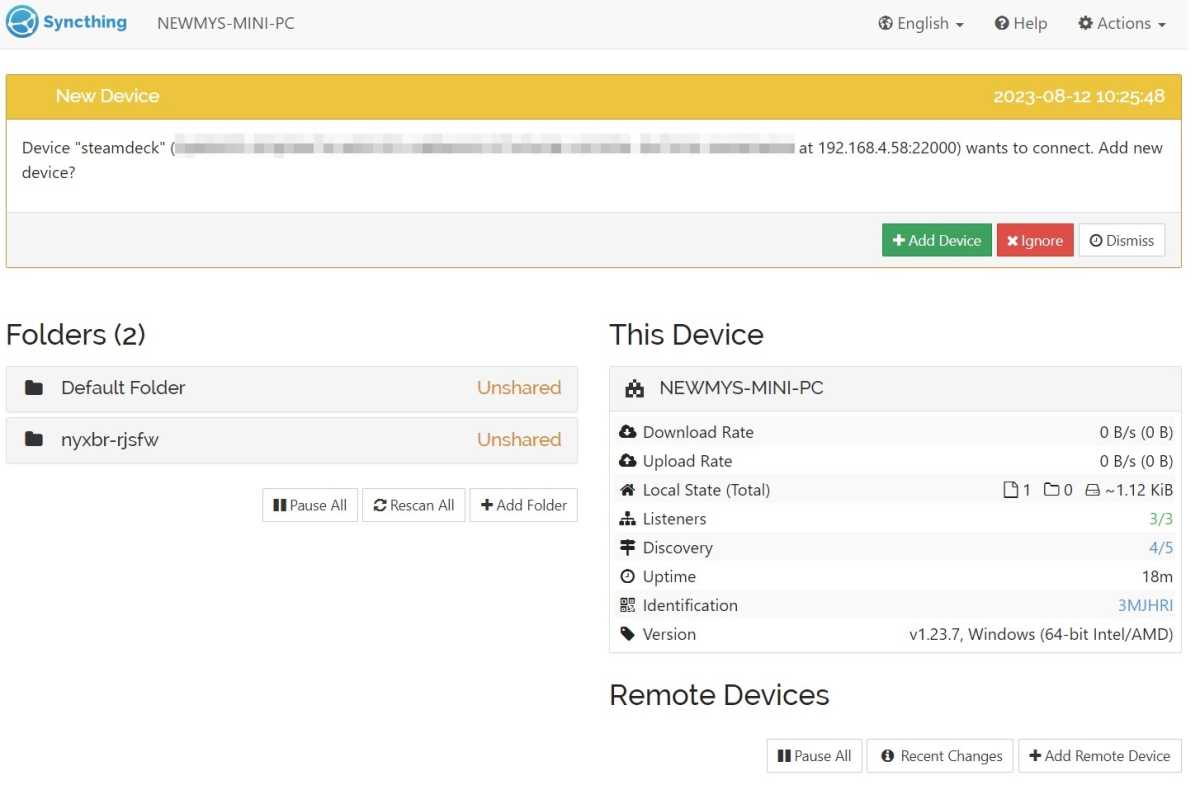
- Leap onto your different instrument, and also you’ll see a request so as to add your first instrument. Click on the fairway “Upload instrument” button, then click on “Save.”
Jared Newman / Foundry
Notice that despite the fact that you pair two units over Wi-Fi, the relationship will persist even over the web. That implies you’ll transfer to every other Wi-Fi community and proceed to sync your recordsdata.
Create your SyncThing folder pairs
Jared Newman / Foundry
Your next step is to make a choice which folders to sync between units. SyncThing gives a default folder on your person listing, however you’ll additionally sync any folder, anyplace for your laptop:
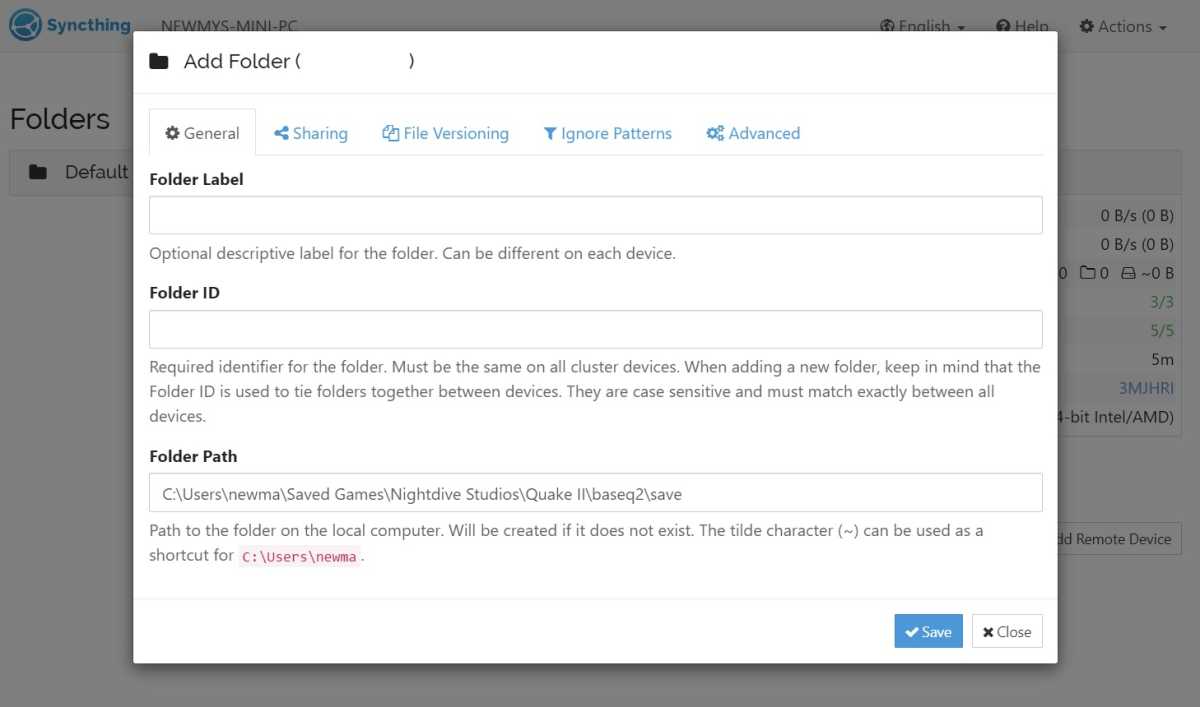
- Click on “Upload folder.”
- Within the Common tab, underneath “Folder Label,” make a choice a recognizable identify for what you’re syncing or depart it clean. Every instrument will have other labels for a similar synced folder.
- Below “Folder ID,” make a choice a recognizable identify or depart it clean. This ID will have to be the similar throughout all units.
- Below Folder Trail, specify the folder’s location for your garage power. (You’ll be able to retrieve this by way of right-clicking a folder in Report Explorer and settling on “Replica as Trail,” however you’ll have to take away the quotes after pasting it into this box.)
Jared Newman / Foundry
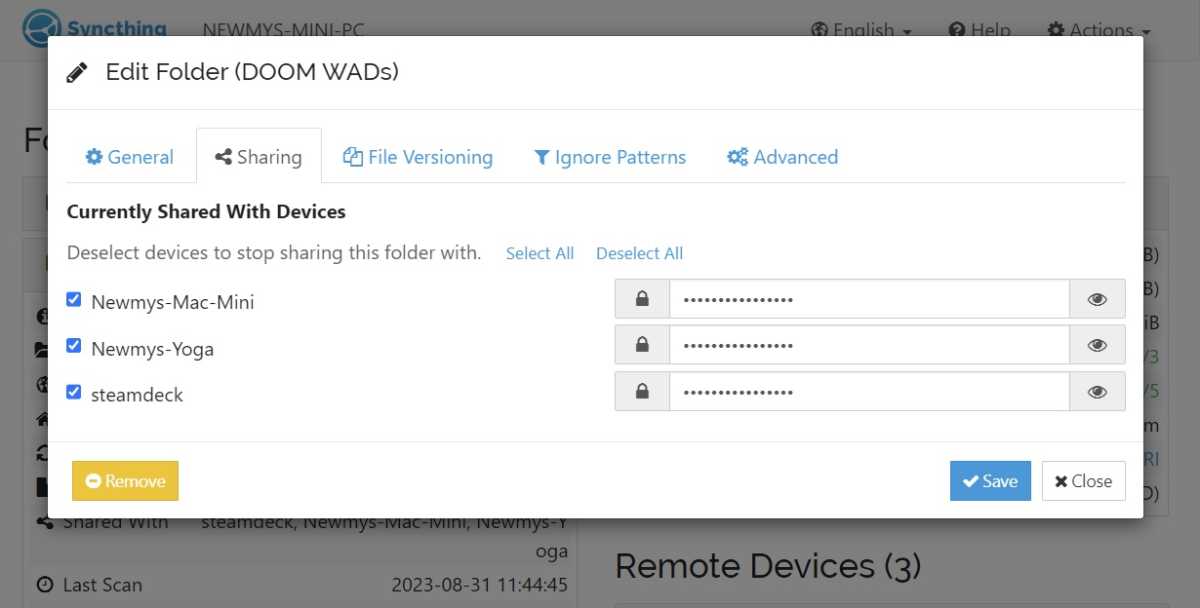
- Within the Sharing tab, choose your different instrument underneath “Unshared units.” Optionally input a password for those who’re sharing with someone else’s laptop, and wish them to ensure the pairing operation with a password.
- Within the Report Versioning tab, and make a choice whether or not to stay a model historical past when recordsdata are up to date. Read about these options for extra main points.
Jared Newman / Foundry
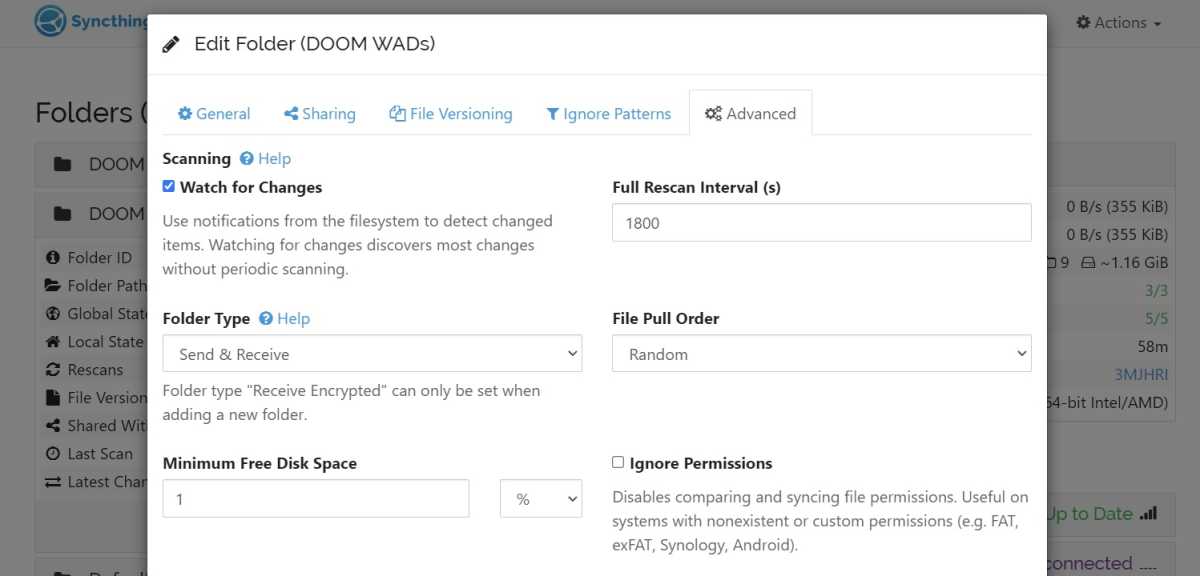
- Within the “Complex” tab, make a choice how incessantly to observe for adjustments (or choose “Look ahead to Adjustments,”).
- By means of default, the folder will ship and obtain recordsdata from different units. You’ll be able to trade this within the Complex tab underneath “Folder Kind.”
- Click on “Save.”
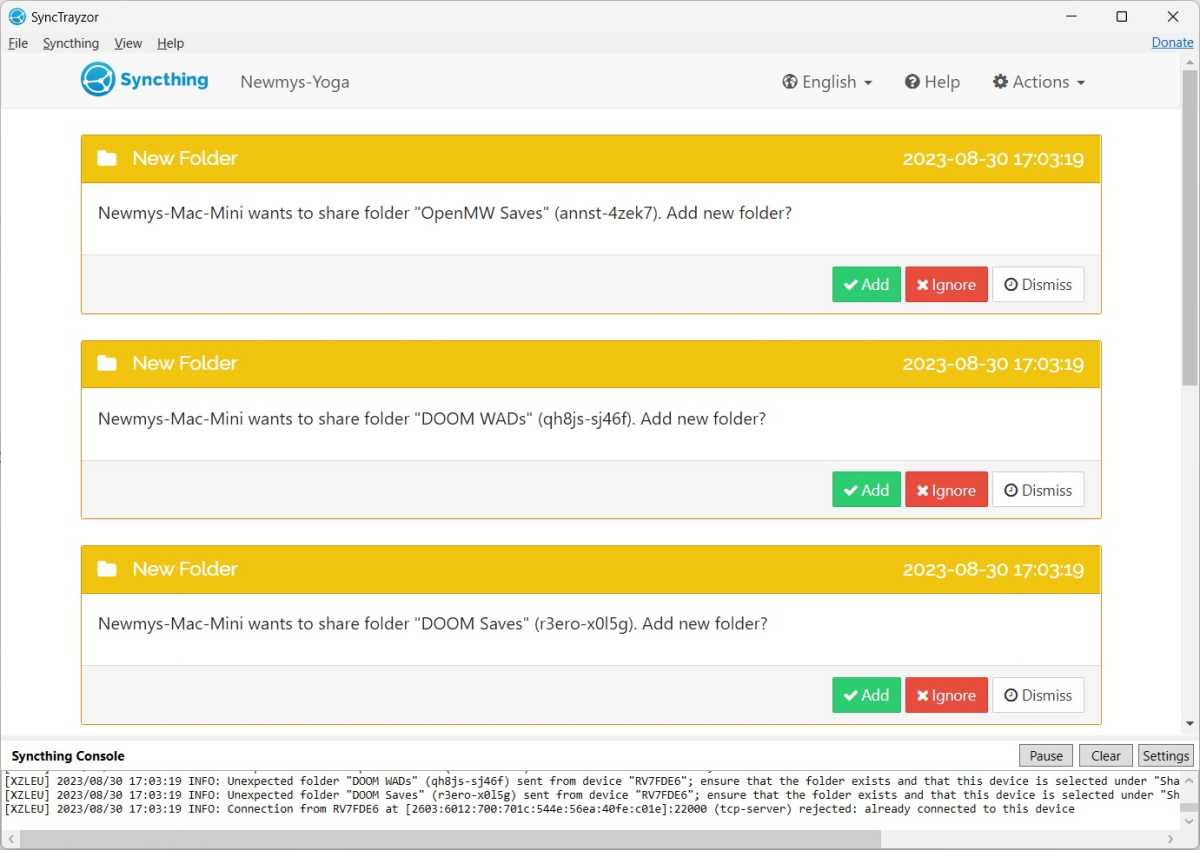
Now, bounce onto your different instrument, and also you must see a request so as to add the folder:
Jared Newman / Foundry
- Click on the fairway “Upload Folder” button.
- Within the Common tab, upload a recognizable identify underneath “Folder Label.”
- Below Folder Trail, make a choice the place you’d love to retailer the contents being synced from the opposite units. This is a new folder, or an current one.
- Use the “Report Versioning” and “Complex” tabs simply as you probably did at the different instrument.
- When the whole lot appears to be like just right, click on “Save” to start out syncing.
Wish to upload extra folders? Simply repeat the stairs on this phase.
Want to trade the sync location for an current folder? Take away it from the instrument you need to switch, then re-add the folder on your newly-desired location.
Upload extra units to SyncThing
While you’ve arrange a few units in SyncThing, you’ll get started including extra:
- Set up SyncThing at the new instrument.
- Click on the “Upload Software” button, then make a choice your instrument from the listing. (Notice that it’ll have a singular image and identifier code, which you’ll glance up at the unique instrument.)
- Leap onto the opposite instrument and click on the fairway “Upload Software” button.
- Below the Sharing tab, make a choice which folders you’d love to sync with the brand new instrument.
- Hop again on your new instrument and upload every folder, similar to within the phase above.
To make issues somewhat more straightforward, SyncThing additionally has an idea referred to as “Introducer,” which you’ll make a choice every time you’re pairing a brand new instrument. For those who mark an current instrument as an Introducer, it’ll robotically pair some other units that you just’ve hooked up to it. That approach, you don’t have to copy all of the pairing procedure for each and every instrument.
Different concerns
SyncThing works best possible when you’ve got no less than one always-on laptop within the combine, reminiscent of a desktop PC or Raspberry Pi that doesn’t cross into sleep mode. This will likely successfully function the bridge between your whole different units, making sure that your folders keep in sync.
SyncThing additionally has quite a lot of different knobs to tweak, well past what’s described right here. Whilst its documentation can get somewhat dense, it’s a precious useful resource for resolution questions as you poke round.
While you’ve mastered the fundamentals, regardless that, seeing the whole lot sync throughout your units can really feel somewhat like magic—particularly when it’s one thing you couldn’t accomplish with cloud garage on my own.
Join Jared’s Advisorator newsletter to be informed extra tech tips each and every week.